React Native is primarily designed for native mobile app development, but there’s a growing desire to extend its capabilities to the web. Here, we’ll delve into the process of adding React Native web support using Create React App (CRA), providing step-by-step instructions, code examples, and a clear folder structure breakdown.
Step1: Create a React-Native Project (if you don’t have an existing project):
let’s create a new react-native project. Run the below command to create a new project or follow the official documentation for project setup.
npx react-native@latest init DemoApp
cd DemoApp
After creating a react-native project, run the project to check whether the project is properly working or not. The below command runs the project in an Android simulator or device (if properly connected).
npm run androidIf your app is properly working on your simulator or real device, you are good to go to the next step. The new folder structure of your project will look like the figure shown below.

Step 2: Create public/ index.html
Create a public folder inside your project directory and create an index.html file. The file will contain basic HTML code to render our React native code. Copy the below code to the index.html file and save it.
<!DOCTYPE html>
<html>
  <head>
    <meta charset="UTF-8" />
    <meta name="viewport" content="width=device-width, initial-scale=1.0" />
    <meta http-equiv="X-UA-Compatible" content="ie=edge" />
    <title>RN Web</title>
    <style>
      #app-root {
        display: flex;
        flex: 1 1 100%;
        height: 100vh;
      }
    </style>
  </head>
  <body>
    <div id="app-root"></div>
  </body>
</html>
Step 2: Create src/index.js and App.js
Create a src directory inside your project. This directory will contain all the code used for the project. Create an index.js file and paste the below code in it. The file works as an entry point to the project for react-native-web.
// index.js

import {AppRegistry} from 'react-native';
import App from './App';

AppRegistry.registerComponent('App', () => App);
AppRegistry.runApplication('App', {
  rootTag: document.getElementById('app-root'),
});
The App.js file that was created while creating a new project should be inside the src directory. Therefore just drag the App.js file from outside or src directory to inside the directory. Then clear the welcome and write a simple message, so that it will be easy to check whether the flow is working or not. An example code of App.js is placed below.
/// App.js

import React from 'react';
import { SafeAreaView, Text } from 'react-native'; // Import necessary components

const App = () => {
  return (
    <SafeAreaView
     style={{ flex: 1, justifyContent: 'center', alignItems: 'center' }}>
      <Text>React Native Fun!</Text>
    </SafeAreaView>
  );
};

export default App;
Step 3: Install the required packages
Now, install the required package to run the react native on the web. Here you need to download, react-native-web, react-scripts, and react-dom packages
yarn add react-native-web react-scripts react-domStep 4: Add Script in the package.json file
Copy the below script and paste it into the package.json file as shown in the figure below. The script helps to run the project on a web browser.
  "web": "react-scripts start",
  "build-web": "react-scripts build",
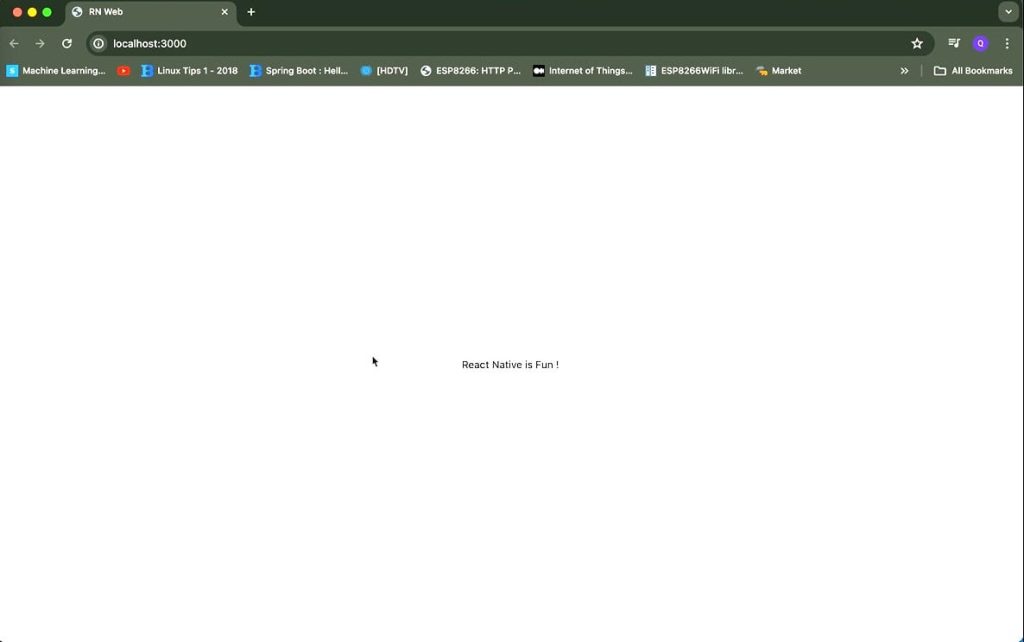
Step 5: Run react-native project for web
Run a command npm run web to run your project on your web browser. If you have done everything correctly, the browser will open on port 3000 as shown in the figure below.
I hope this blog post helped you to understand the implementation of the react-native apps on the web. We are also available on YouTube. You can also follow the video given below.